Dinosaur Bone Preparation II. In the Lab.
The Dinosaur Bone Project
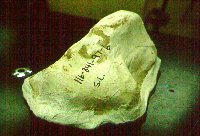
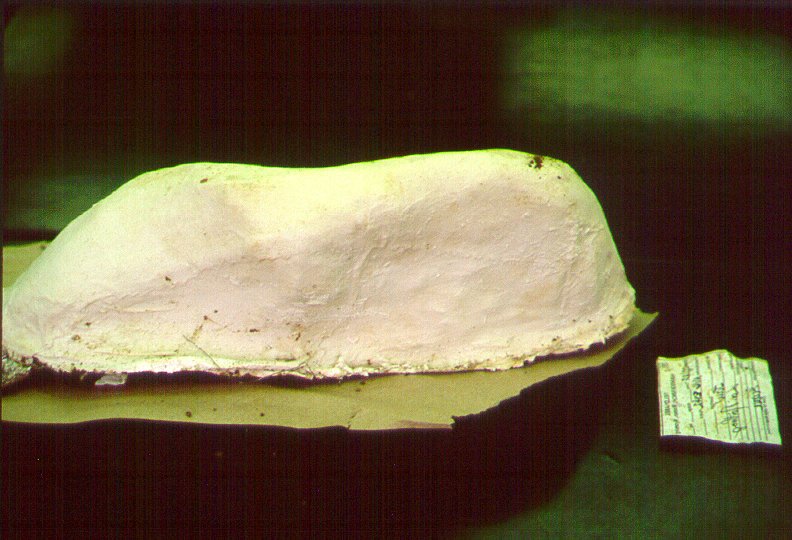
When the specimen reaches the prep lab, it is generally a nondescript white plaster mass, with identifying numbers on the cast. The first step in preparation of the specimens in the lab is to remove the plaster jacket from the pedestaled (bottom) side of the specimen.
Photos © 1999 J. Long
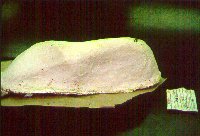
The plaster cap can usually be removed either by sawing around the edges and prying it off, or by wetting the surface of the plaster on the side to be removed and carefully prying the cap away from the exposed lower surface of the pedestal.The preparator in this case was Josh Long, a senior Biology student headed for Medical School.
Photos © 1999 J. Long
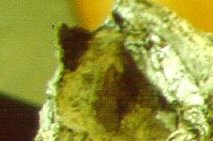
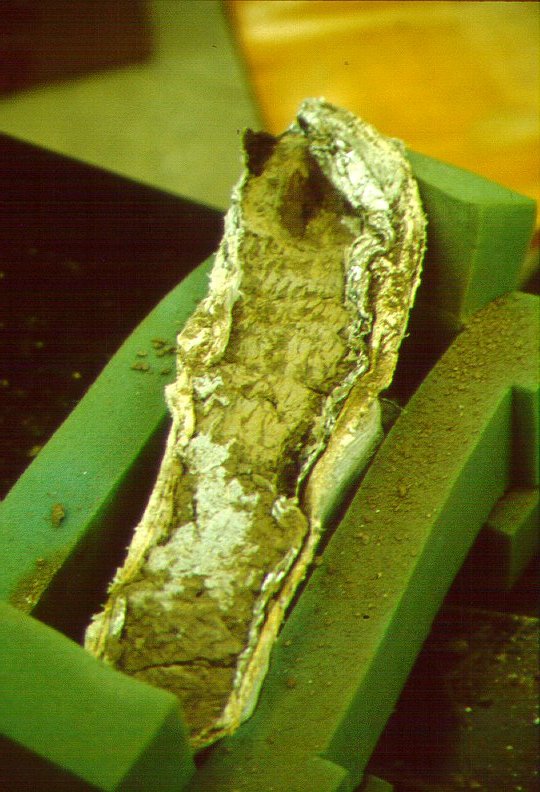
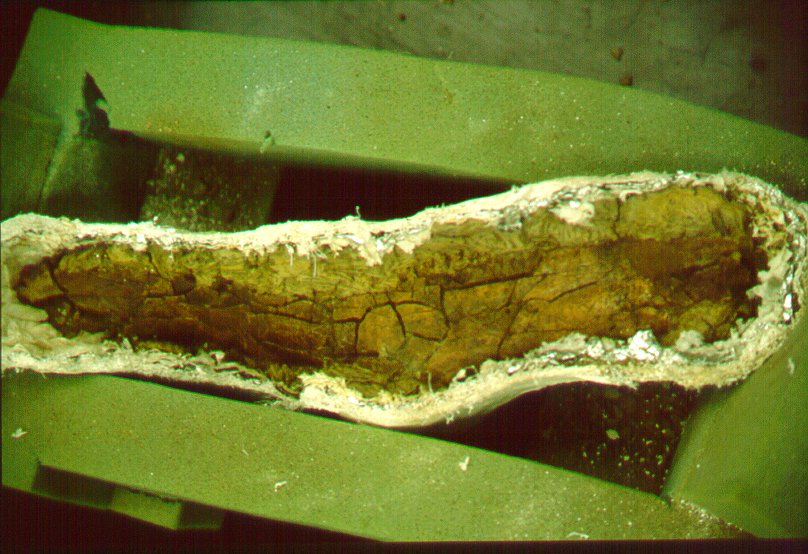
The worker must be fastidious, careful, patient and persistent, all qualities that Josh exhibited magnificently as he processed this specimen over a five week period. The first signs of bone begin to emerge as Josh removes the matrix from around the bone.
Photos © 1999 J. Long
`
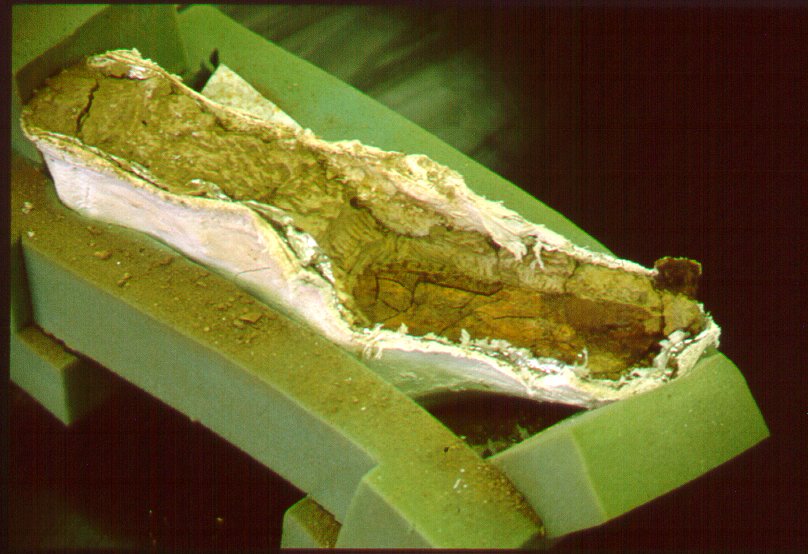
The first evidence of the nature of the specimen is revealed by a gentle curvature turning into a sudden break typical of maxillary fragments. At this point Josh works to stabilize the bone fragments in their taphonomic positions. Some preparations would be dedicated to restoring the fragments to anatomically correct positions, but we are more concerned with how the bones came to be where they are (taphonomy), and only secondarily with anatomical restoration. .
Photos © 1999 J. Long
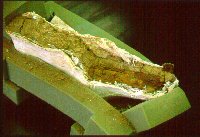

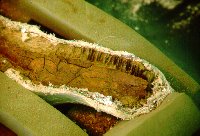
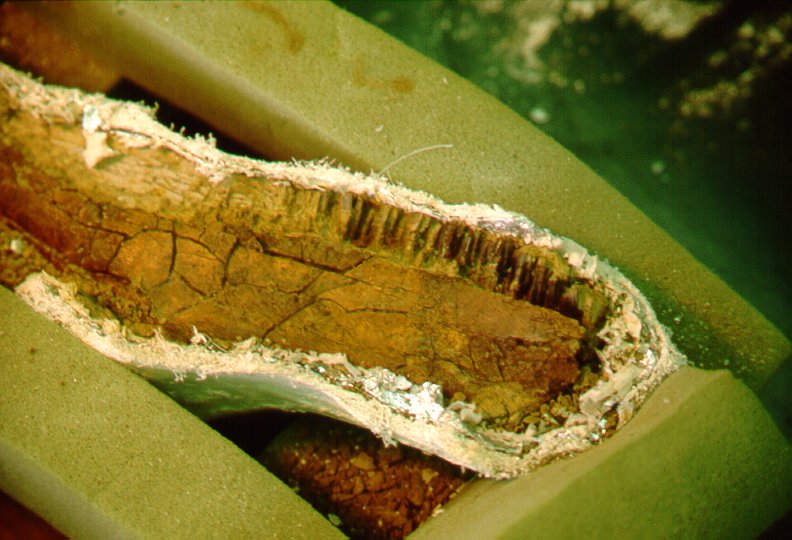
The tooth line begins to emerge as Josh c a r e f u l l y removes, almost grain-by-grain, the matrix from the gumline. By this time Josh has been at the restoration for about 20 hours.
Photos © 1999 J. Long
The general outline of the toothrow is exposed as Josh works on, removing the matrix with a combination of dental picks and brushes. There are many fragments of bone mixed in with the matrix, possibly the remnants of pre-emergent replacement teeth.
Photos © 1999 J. Long
Back 
 Next
Next
| |||
| ||||
| |||
| ||||
| |||
| |||
Back
Next